How to Define Geographies for Existing Territories from CRM
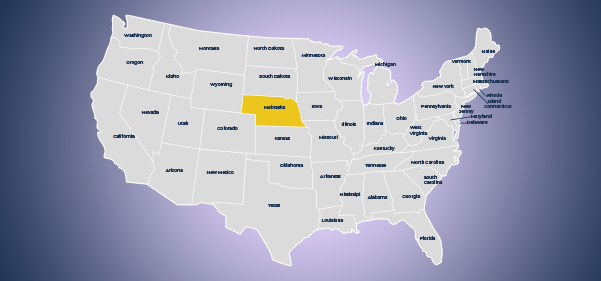
Dynamics 365 map gives you an easy way to define geographies from your CRM. The Geography feature lets you pick and choose an area that you can define as a territory from the Advanced Setting.
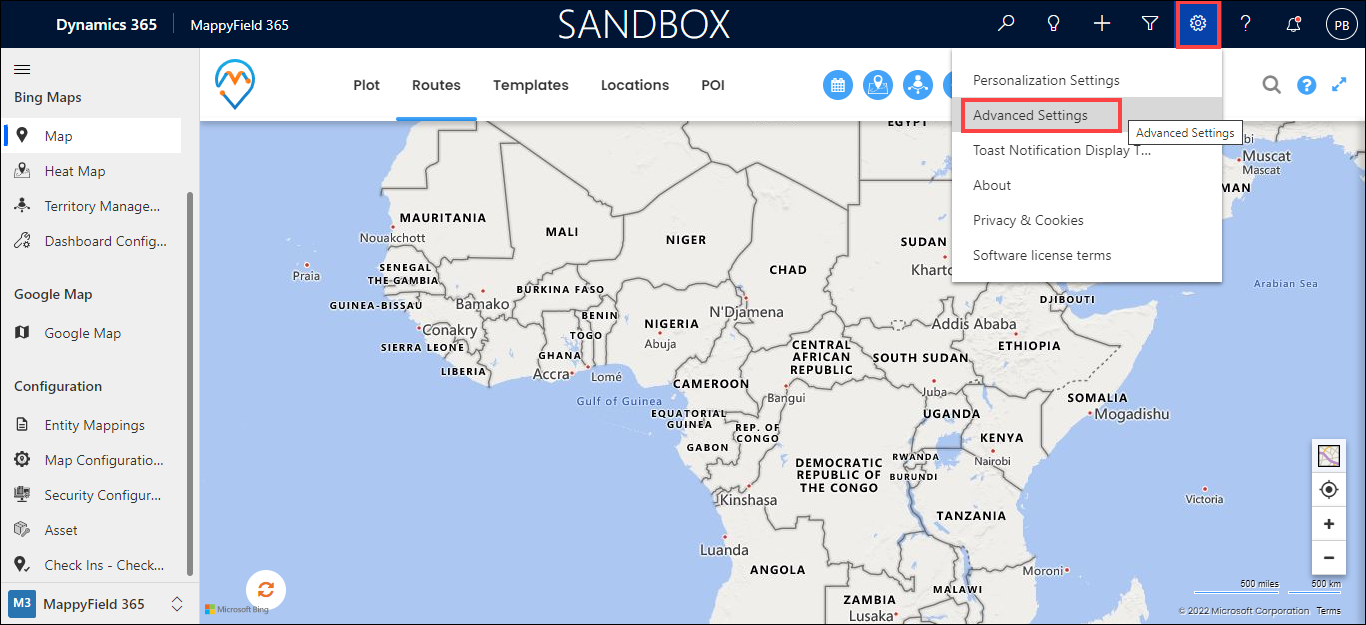
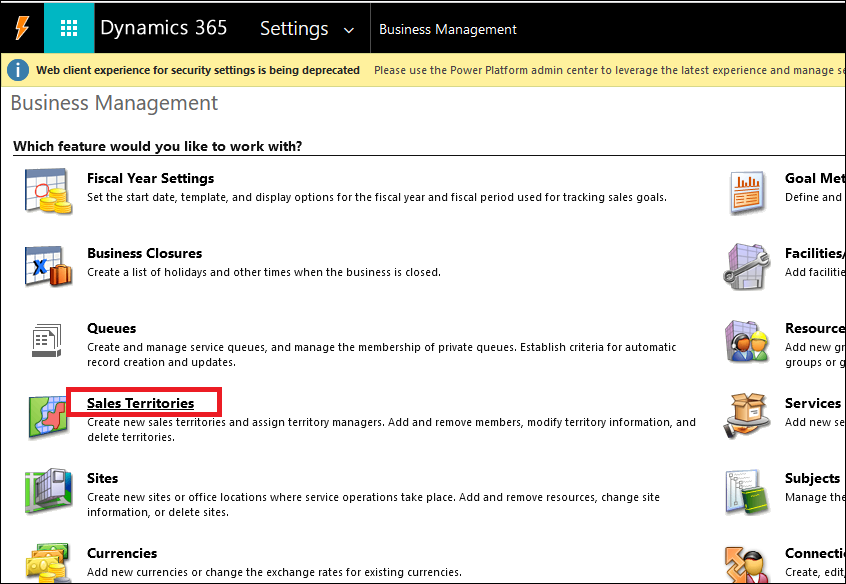
Step 1: After navigating to the Advance Settings, you will see the Sales Territory option in the Business Management Setting.
You can manage territories and their geography from the Sales Territory setting.
Step 2: After clicking on the sales territory, you will get the list of All Territories. You can also create new territories and their geography by clicking on a New button.
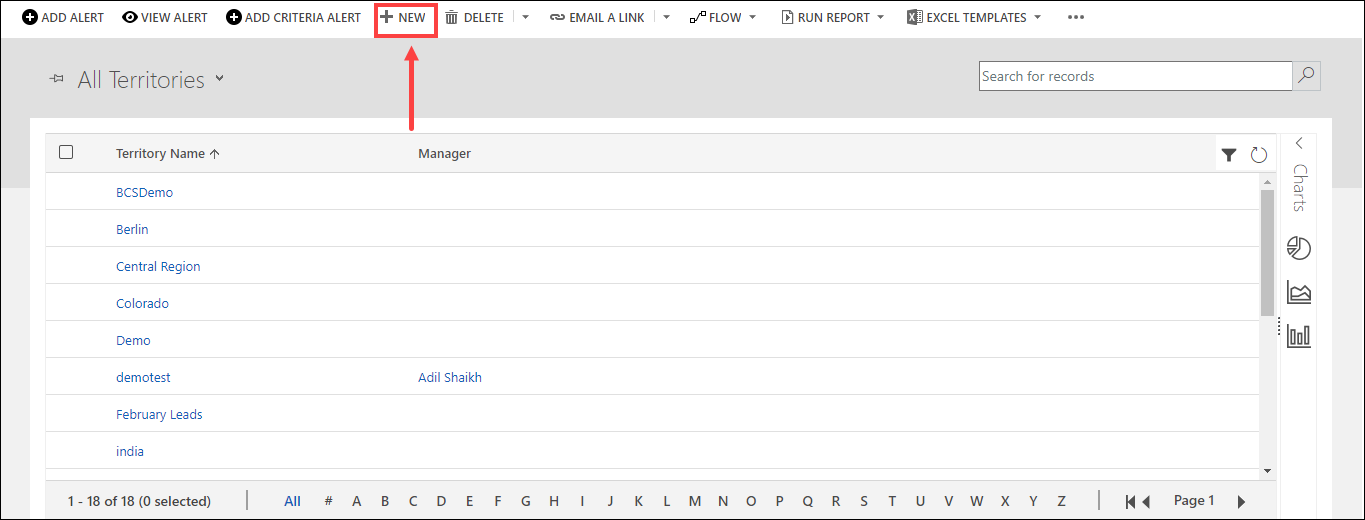
Step 3: After clicking on the New button, you can add a new territory and its geography.

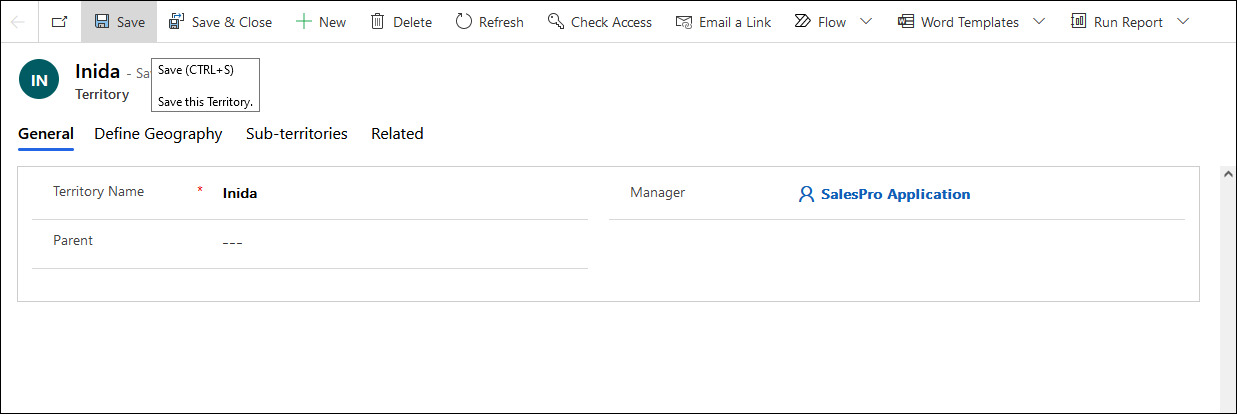
Step 4: Enter the Territory Name and Save the territory. Once you create a new territory, then you can define the geography of that territory.
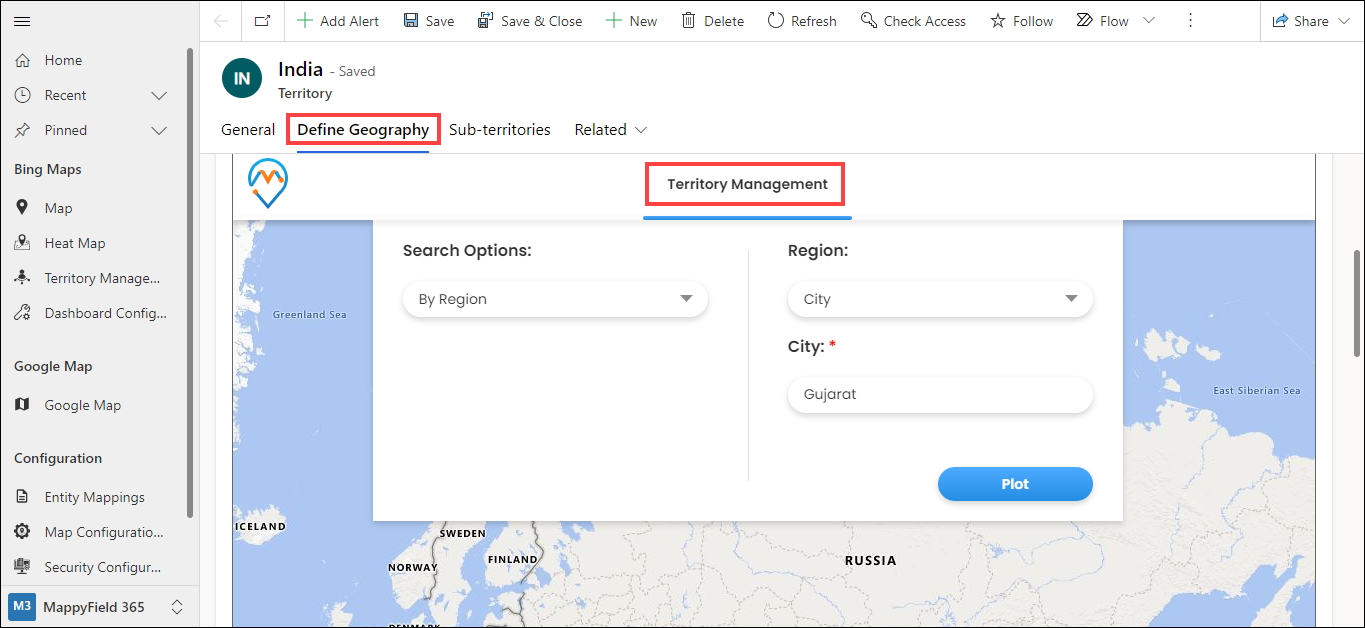
Step 5: By clicking on the Define Geography tab, you can define Region for that territory. Click on Territory Management and then plot the area by clicking on the Plot button.
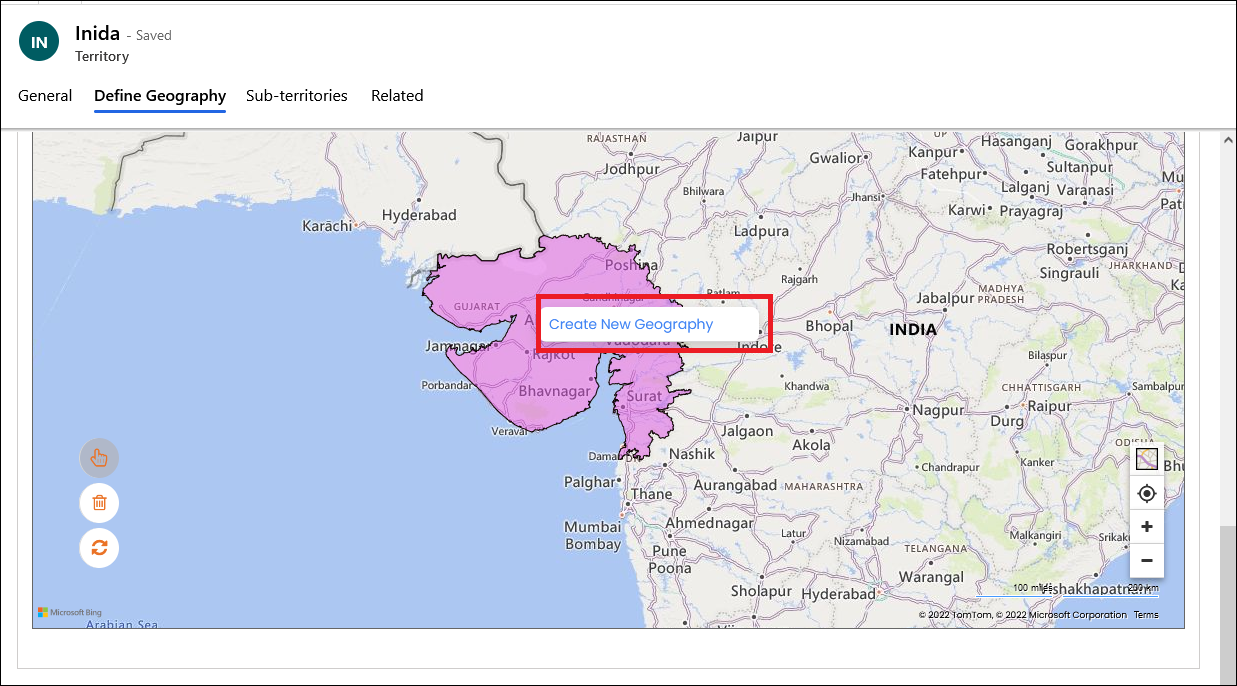
Step 6: After the territory is plotted, click on the Hand icon, select the plotted area and click on create a New Geography option.
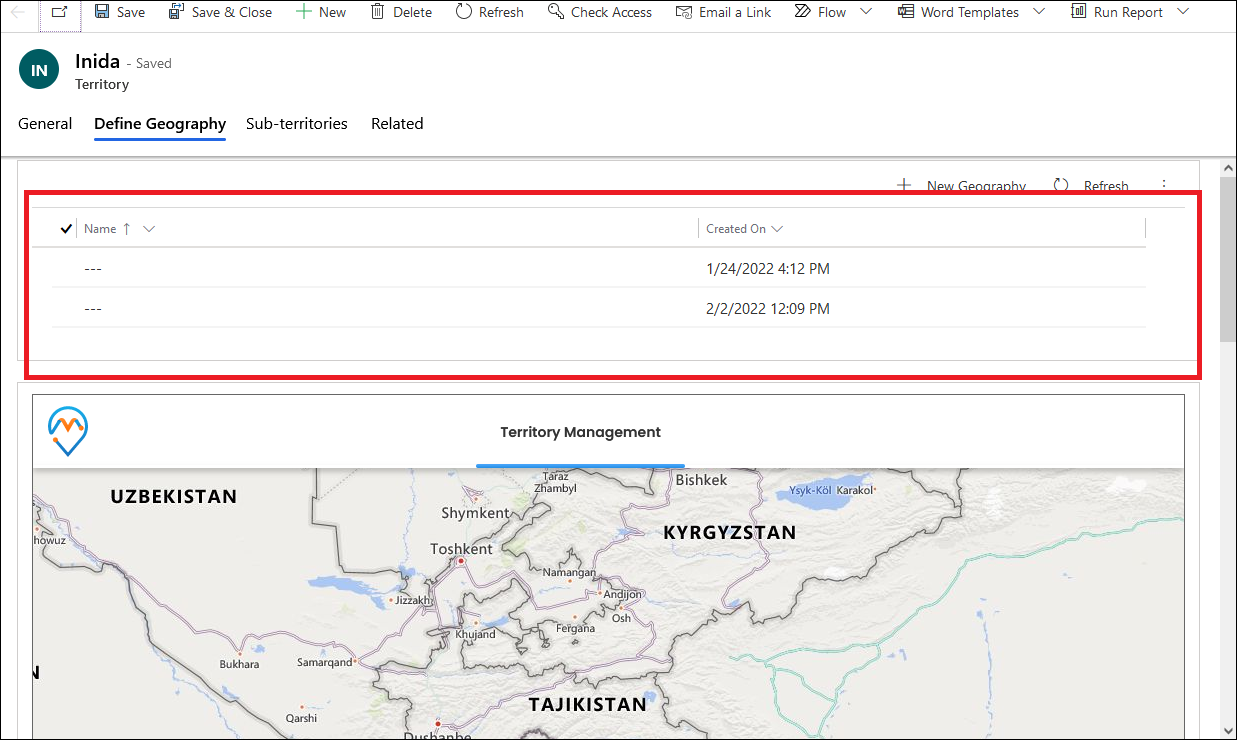
Step 7: You can see the list of geography, and you can add multiple geographies for one territory. Then Save the territory, and you can use this territory in MappyField 365 for plotting data.
All product and company names are trademarks™, registered® or copyright© trademarks of their respective holders. Use of them does not imply any affiliation with or endorsement by them.
This blog is originally published on:
https://www.appjetty.com/blog/define-geographies-territories/

Comments
Post a Comment